

How to Find Your Windows 11 Product Key

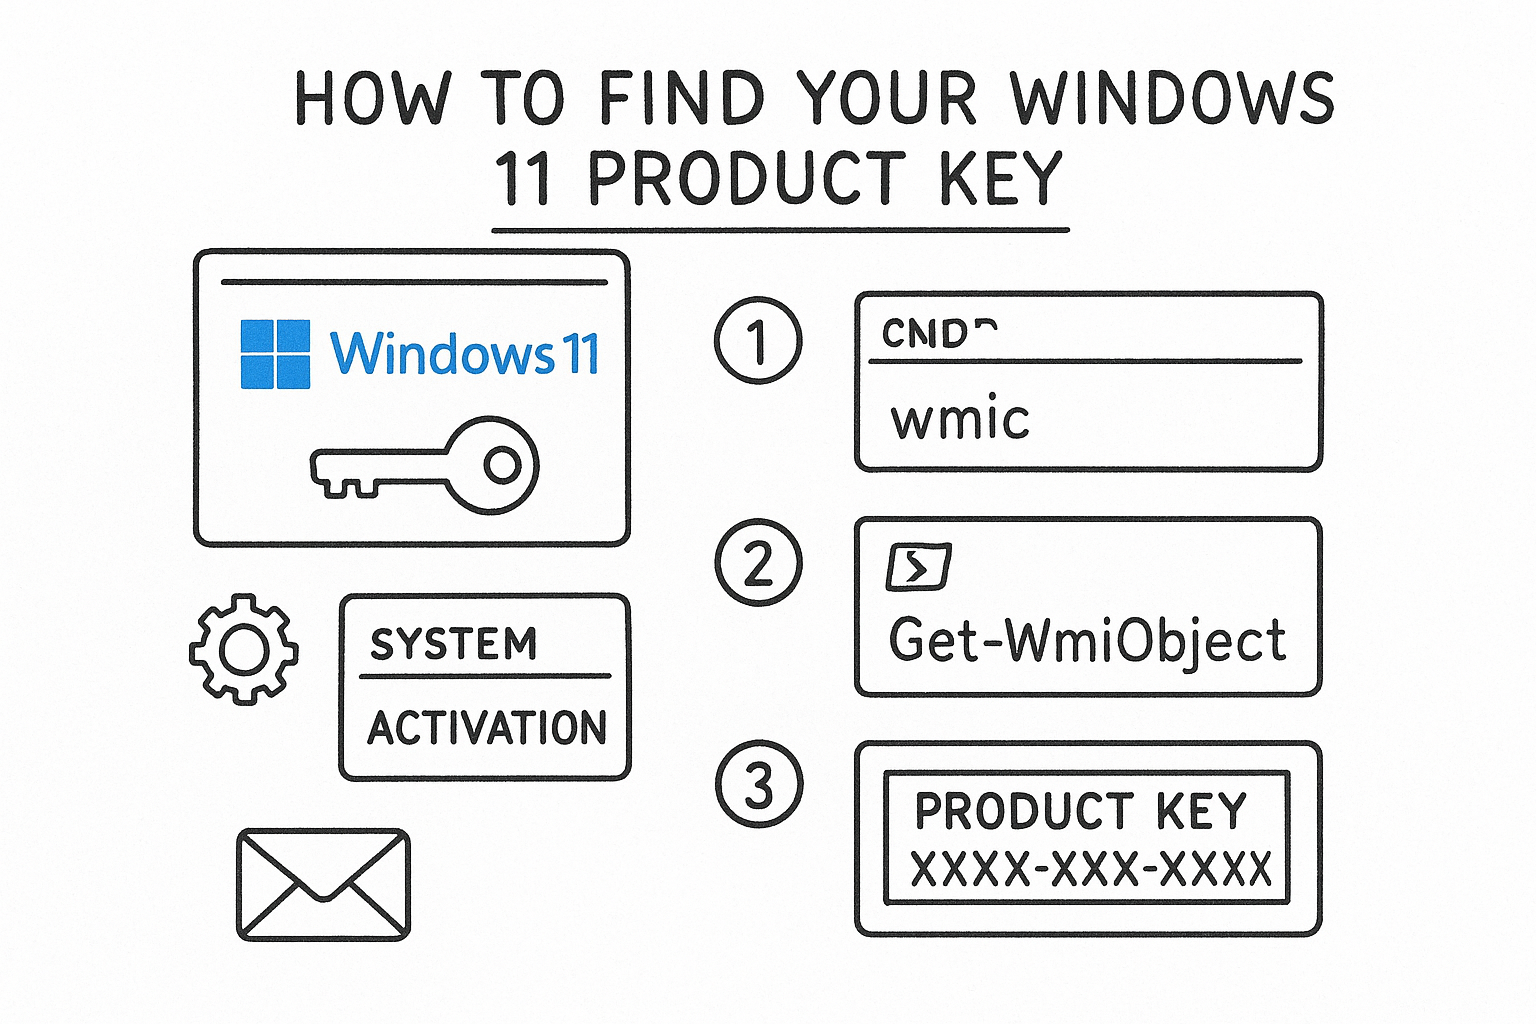
You need to reinstall Windows, move your license to a new drive, or just prove ownership when contacting support, and now you’re stuck because nobody wrote your key down anywhere. It happens to almost everyone since Windows 11 activates itself in the background and never shows the key on screen unless you go looking for it. The good news is that your key isn’t lost, it’s just hidden.
This guide covers how to find your Windows 11 product key using the methods that actually work in 2026: Command Prompt, PowerShell, the Settings app, and digging into the registry when the license is tied to a digital entitlement instead of a physical code. You’ll also learn the difference between checking activation status and pulling the actual Windows 11 pro product key, since those aren’t always the same thing.
We’ll walk through each method step by step, starting with the quickest command line trick and moving to backup options for trickier setups like OEM licenses. And if you get to the end and find your key is missing, expired, or tied to hardware you no longer own, we’ll point you toward a cheap, legitimate replacement instead of paying full price at the Microsoft Store.
What a Windows 11 product key is and where it lives
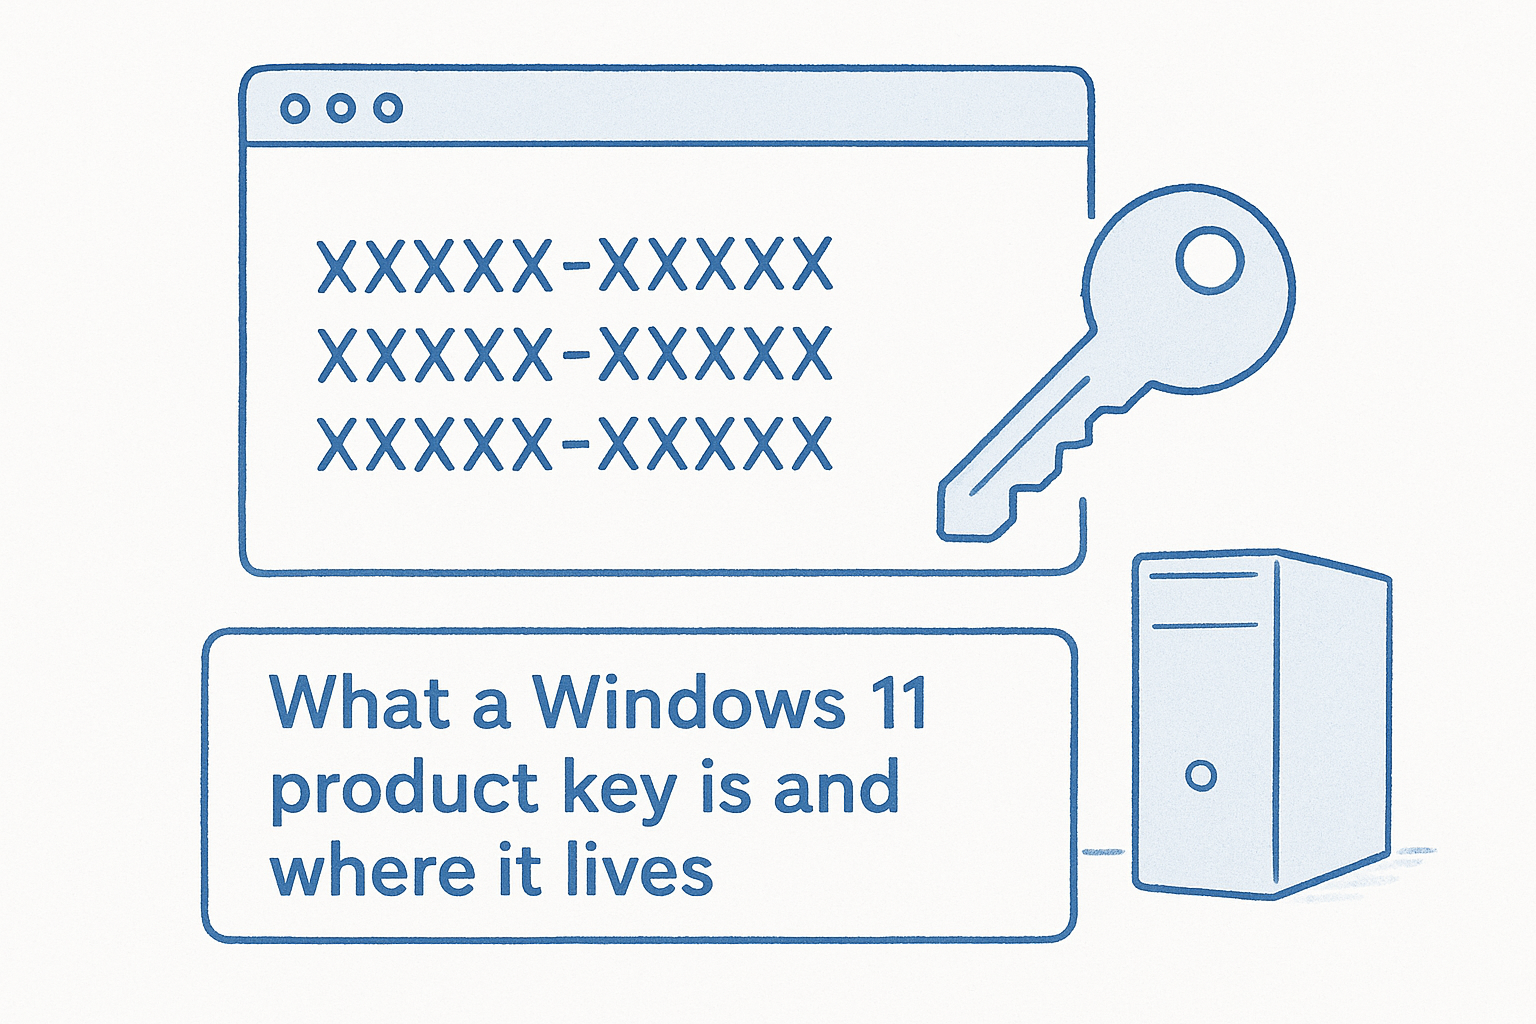
A Windows 11 product key is a 25-character code, formatted in five groups of five characters, that proves you have a legal right to use your copy of Windows, and it helps to know what a Windows 11 activation key actually is before you start looking for yours. Microsoft ties that code to either your hardware or your Microsoft account during activation, then buries it deep in the system so you never have to look at it again, until you do. Understanding where it actually sits helps you pick the right method instead of hunting blind.
Digital license vs. traditional key
Most PCs bought since Windows 10 don’t rely on a visible key at all. Instead, they use a digital license (Microsoft used to call this a digital entitlement) that’s linked to your motherboard or your Microsoft account and gets checked automatically over the internet during activation. If you upgraded from Windows 10 for free or bought a prebuilt PC, this is almost certainly how your copy activates. Retail purchases and some OEM builds still use a traditional alphanumeric key stored on a sticker, in a purchase email, or embedded in the firmware, and our digital license vs product key comparison explains how each one behaves during activation.
If your PC activates automatically without ever asking for a code, you likely have a digital license, not a traditional product key.
Where the key actually lives
Depending on how your copy of Windows was activated, your key can live in a few different places:
- BIOS/UEFI firmware, for OEM machines where the key is burned in at the factory
- Windows registry, as an encrypted value tied to your installation
- Your Microsoft account, if you’re running on a digital license
- Purchase confirmation emails, if you bought a retail or downloaded key online
- A physical sticker or card, for older desktops and laptops
Knowing which category you fall into saves you from chasing a key that was never meant to exist in plain text, and it sets up the next few steps, which start with the fastest and most reliable check: Settings.
Step 1. Check your activation status in Settings
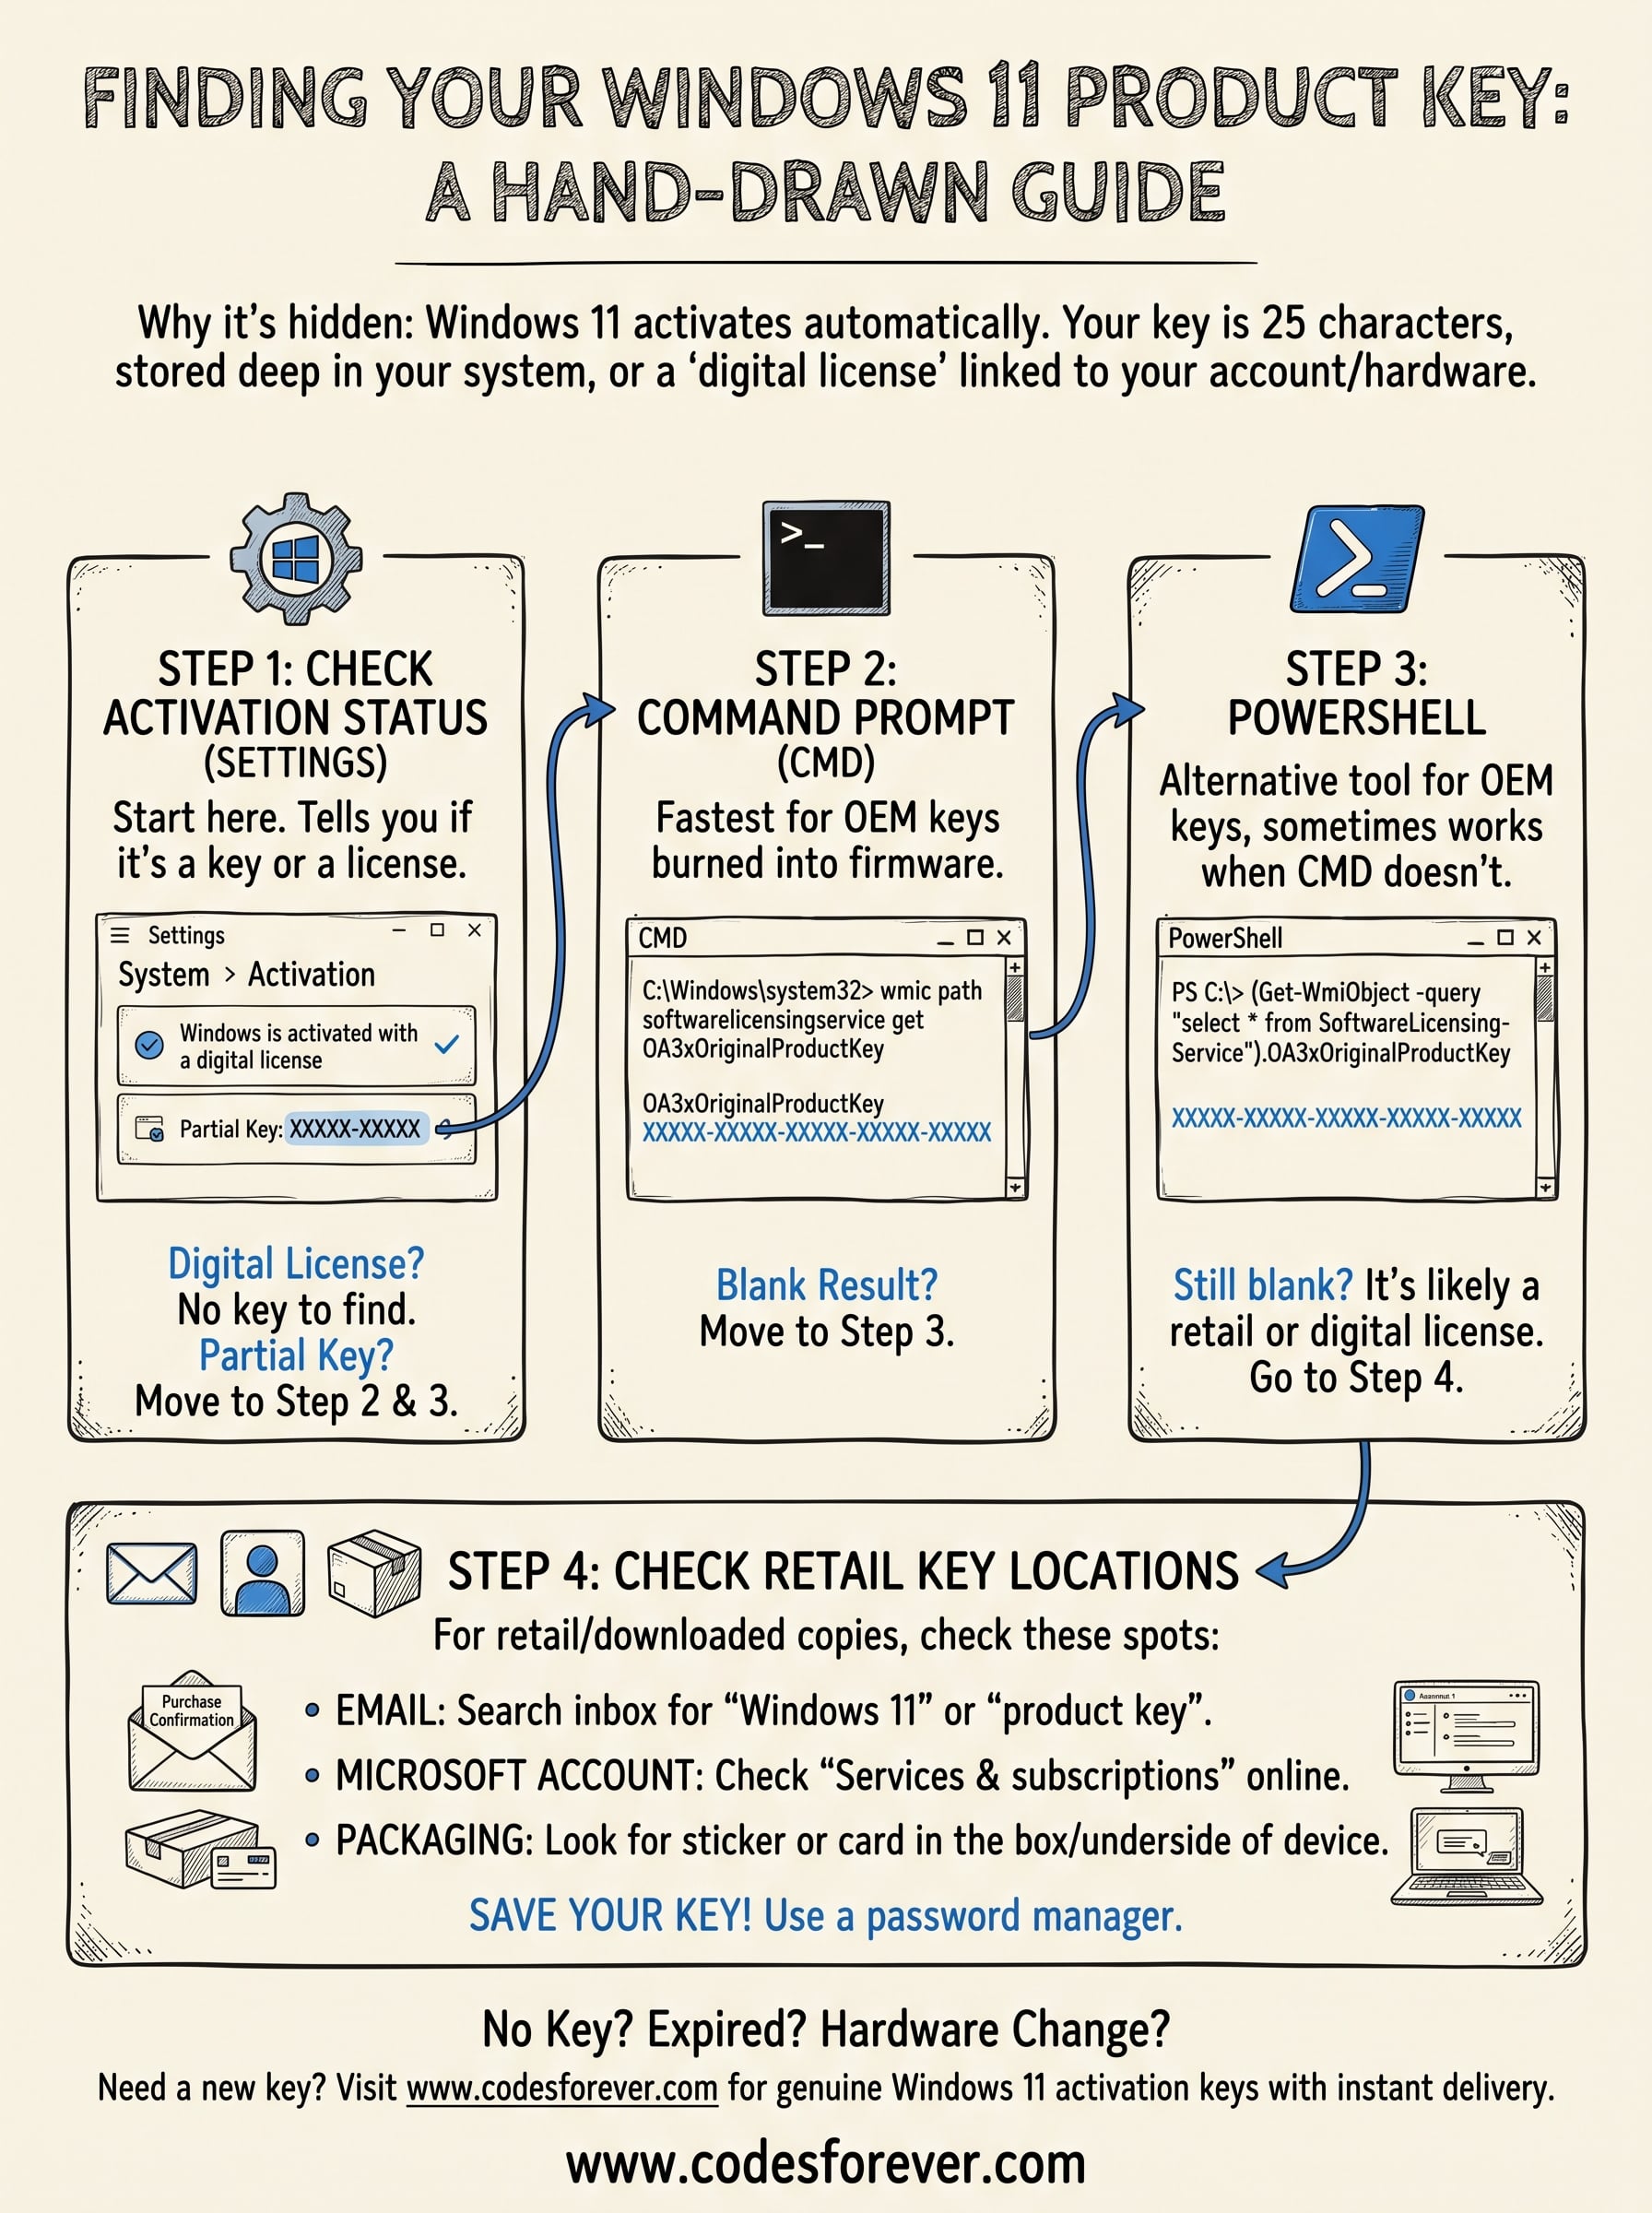
Before you go hunting through Command Prompt or the registry, check whether Windows 11 is already activated and see what the system tells you. This won’t reveal the actual 25-character code in most cases, but it confirms whether you’re running a digital license or a traditional key, which decides your next move entirely.
Here’s how to check:
- Open Settings (Windows key + I).
- Go to System > Activation.
- Look at the activation status. It will say either “Windows is activated with a digital license” or show a partial product key ending in the last five characters.
If you see a digital license, there’s no traditional key to dig up. Your activation is tied to your Microsoft account or hardware, and you’ll need a different recovery method entirely (more on that below). If you see a partial key, at least you know a physical or emailed code exists somewhere, even if Settings only shows you the tail end of it.
Settings won’t hand you the full key, but it tells you exactly which recovery path to take next.
Either way, this two-minute check saves you from wasting time on methods that won’t apply to your setup.
Step 2. Find your product key using Command Prompt
Command Prompt gives you the fastest way to pull a stored key straight from the registry, and it works whether you’re checking a Windows 11 Pro product key command prompt style, or a Home edition. This method reads the BIOS-embedded key on OEM machines, so it’s your best shot if Settings only showed a digital license with no code attached.
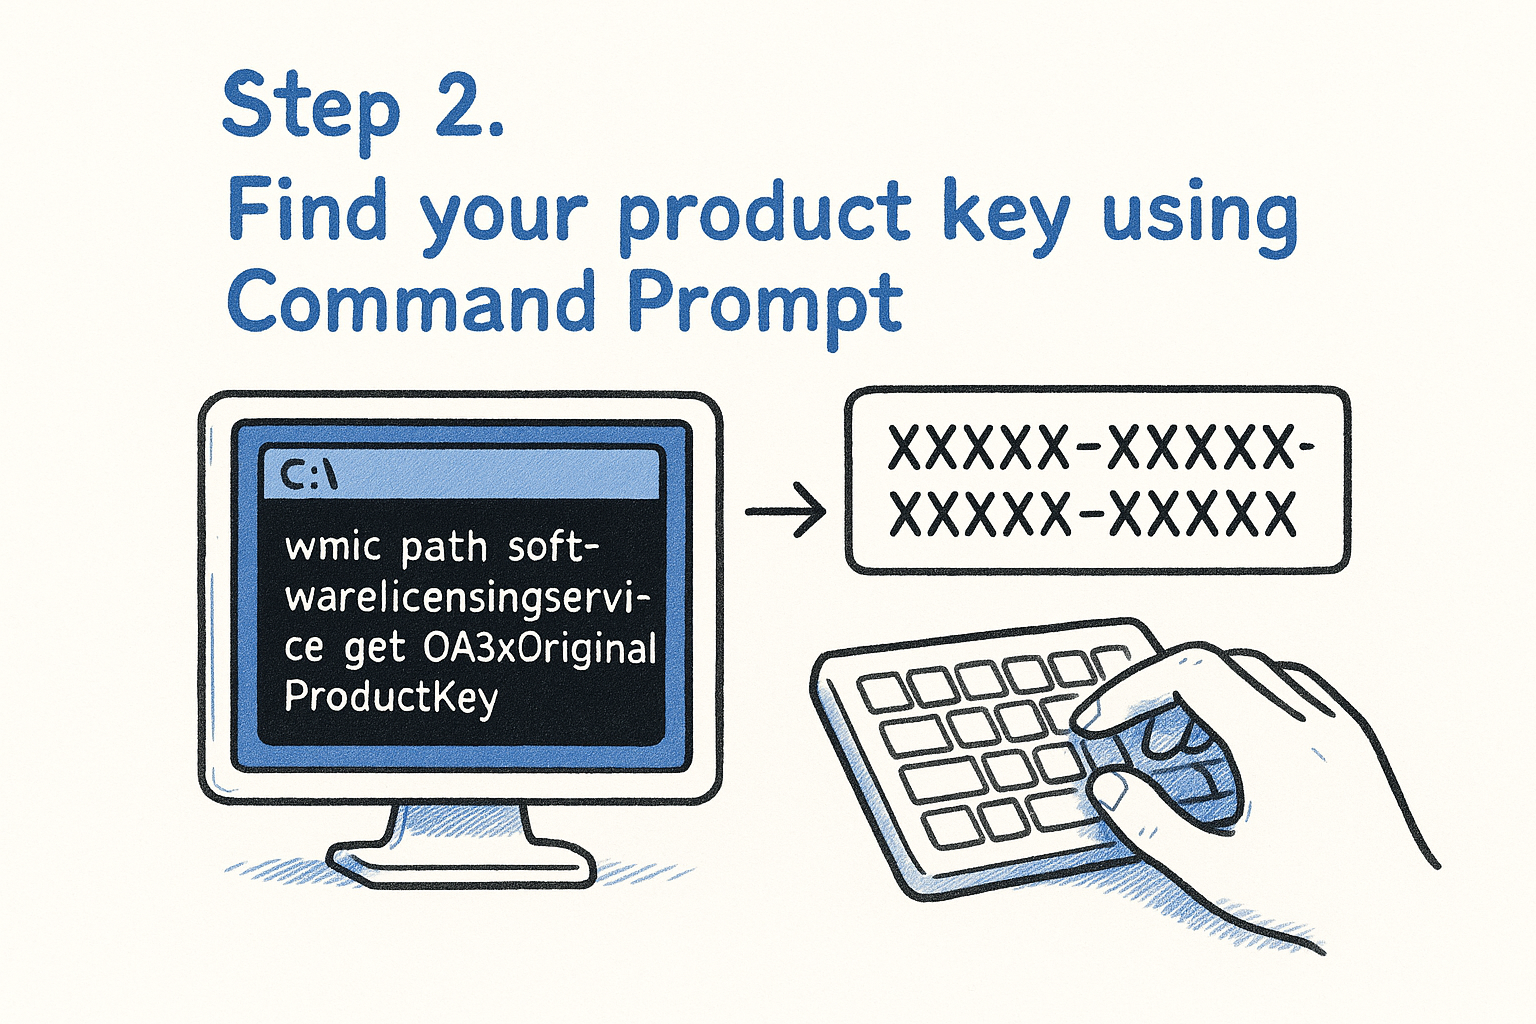
Open Command Prompt as administrator (search “cmd,” right-click, choose Run as administrator), then run this command:
wmic path softwarelicensingservice get OA3xOriginalProductKey
Give it a second to process. If a 25-character key appears below the command, that’s your original OEM key pulled directly from firmware. Copy it somewhere safe immediately, ideally a password manager or a printed note, since you won’t want to repeat this hunt later.
A blank result after running this command almost always means your PC activates through a digital license, not a stored key.
Sometimes the field returns empty even on a legitimate copy of Windows. That’s normal for machines running on digital licenses, upgraded installs, or retail keys that were never written to firmware. If that happens to you, don’t assume something’s broken. Move on to PowerShell, which pulls from a slightly different source and occasionally succeeds where Command Prompt comes up empty.
Step 3. Find your product key using PowerShell
PowerShell taps into the same firmware data as Command Prompt, but it’s worth trying separately since it sometimes succeeds when the older tool comes back blank. This matters most if you’re troubleshooting how to find your Windows 11 product key using cmd and hit a dead end, because PowerShell reads the licensing service through a slightly different path and occasionally surfaces a key that wmic missed.
Open PowerShell as administrator (search “PowerShell,” right-click, select Run as administrator), then run this command:
(Get-WmiObject -query 'select * from SoftwareLicensingService').OA3xOriginalProductKey
Press Enter and wait a moment. A 25-character code printed on screen is your OEM key, pulled straight from the BIOS. Write it down or paste it into a password manager right away.
If both Command Prompt and PowerShell return nothing, your machine is almost certainly running on a digital license instead of a stored key.
An empty result here confirms what a blank Command Prompt result already hinted at: there’s no embedded key to retrieve because your Windows 11 pro product key check relies on a digital entitlement tied to your Microsoft account. That’s not a failure on your part, it just means the next step looks somewhere else entirely.
Step 4. Check your email, account, or packaging for a retail key
If both command line methods came back empty, your key was never burned into firmware, which means it’s sitting somewhere in your paperwork or inbox instead. This is common with retail keys bought directly from a store, downloaded from an online retailer, or included with a boxed copy of Windows, so it pays to know the difference between OEM, retail, and volume licenses. Before you assume the key is gone for good, work through the places people actually stash them.
Check these spots in order:
- Purchase confirmation emails from Microsoft, Amazon, or wherever you bought the license, search your inbox for “Windows 11” or “product key”
- Your Microsoft account at account.microsoft.com, under Services & subscriptions, if you bought the key through Microsoft directly
- The physical box or included card, often printed on a sticker or a small paper insert
- A laptop’s underside or battery compartment, for older OEM machines with a printed Certificate of Authenticity
If you can’t find a stored key anywhere, chances are you never had one, your license was a digital entitlement all along.
Retailers and resellers usually keep order history too, so log into your account with the seller if the email search comes up dry. This is often where how to get a Windows 11 product key questions actually get resolved, not through the command line at all.
Keeping your product key safe for next time
Once you’ve tracked down your key through Settings, Command Prompt, PowerShell, or your inbox, don’t let it disappear again, and if you still need to use it, follow the steps to redeem a Windows 11 product key in system settings. Save it in a password manager, or at least a text file synced to cloud storage, so you’re never stuck re-running the same commands during your next reinstall. A quick screenshot of the Activation screen, paired with the actual code, covers both the proof and the proof-of-purchase side of things.
Sometimes, though, the search comes up empty because there’s genuinely nothing to find, the license expired, got tied to hardware you replaced or sold, or was never legitimate in the first place. Rather than paying full price for a fresh copy, buy a genuine Windows 11 activation key from Codesforever for instant delivery and a money-back guarantee if anything goes wrong with activation.